Showing posts with label DIY. Show all posts

Tuesday, July 15, 2014

DIY Pomanders for Tall Wedding Centerpieces

I really wanted those gorgeous tall centerpieces I had seen on Pinterest, but nearly fell over in my seat at the prices on these things. $75-$250 per centerpiece. I have 15 tables to cover, and I most certainly do not want to spend thousands on centerpieces. That would be nearly half of my budget. I pulled out my DIY thinking cap and got to planning on how I could make these bad boys for a fraction of the cost.

Here some of my inspiration images.


Now on to how I made the pomanders (the stand I will get to in another post)

I looked online for tutorials and how to's but they all required Styrofoam balls. Those suckers are not cheap. $5-$10 per ball. I'm trying to think cheap sooo.... I thought, "round....can glue things to it.... paper lanterns"

That's right paper lanterns, and I found them nice and cheap, less and a buck each!

These are my base and can be found here


Now I have something round on which I can glue things, so let's see how that works. 
I'll need a glue gun, glue sticks, and some roses. The glue gun I had and the roses I got here 


I pulled all the roses off of the stems, so I just had the little plastic stub at the bottom of the rose. This is where I will put the glue.


Now that I have that little stub, I'm going to add some glue to it.


Here comes the tricky part, pressing it into the paper lantern. You have to press hard enough to pop it through the paper but not tear it, so forceful and gentle at the same time. You will hear a little pop when you get it right. Don't worry if you do make a little tear it will be fine.


I start out by make a circle around the entire lantern and then building from there.


It took me about 42 roses to cover a 6 inch paper lantern, and here is my final product


They are surprisingly durable too. I've had these few hanging from my ceiling, out of reach of my kiddos, for a few months now. 


I can't wait to put them all together with the final touches. Here's a little sneak peek, the stands, of course are not finished, and the ostrich feathers and crystals need to be added. 


Thursday, May 10, 2012

My first DIY furniture project

I upcylced? refinished? beautified? my old desk. I have no idea what the crafty term is.

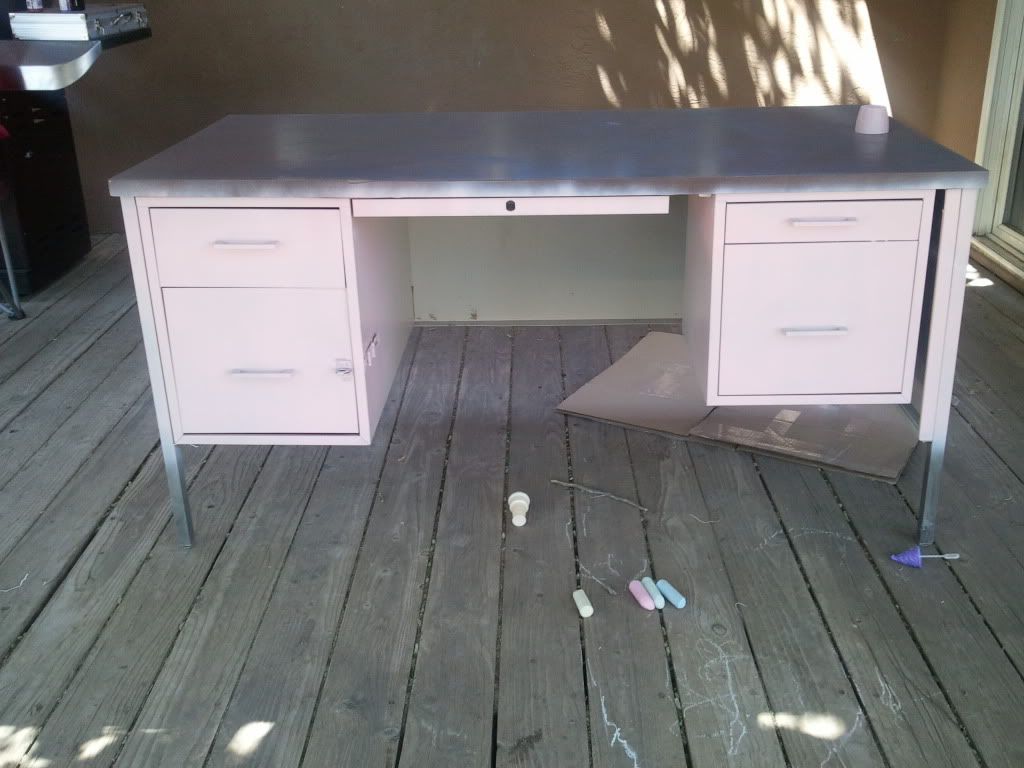
You know those ugly brown metal industrial desks of like the 70's? Yeah I had one looked like this only longer. It came complete with chipping paint and all

I hated it, and I was a little embarrassed when people saw it or I accidentally caught it in pictures of my kids.

It wasn't ME

I decided to do something about it now that we moved into our new house (yes we bought a house and I didn't even blog about it *gasp*)


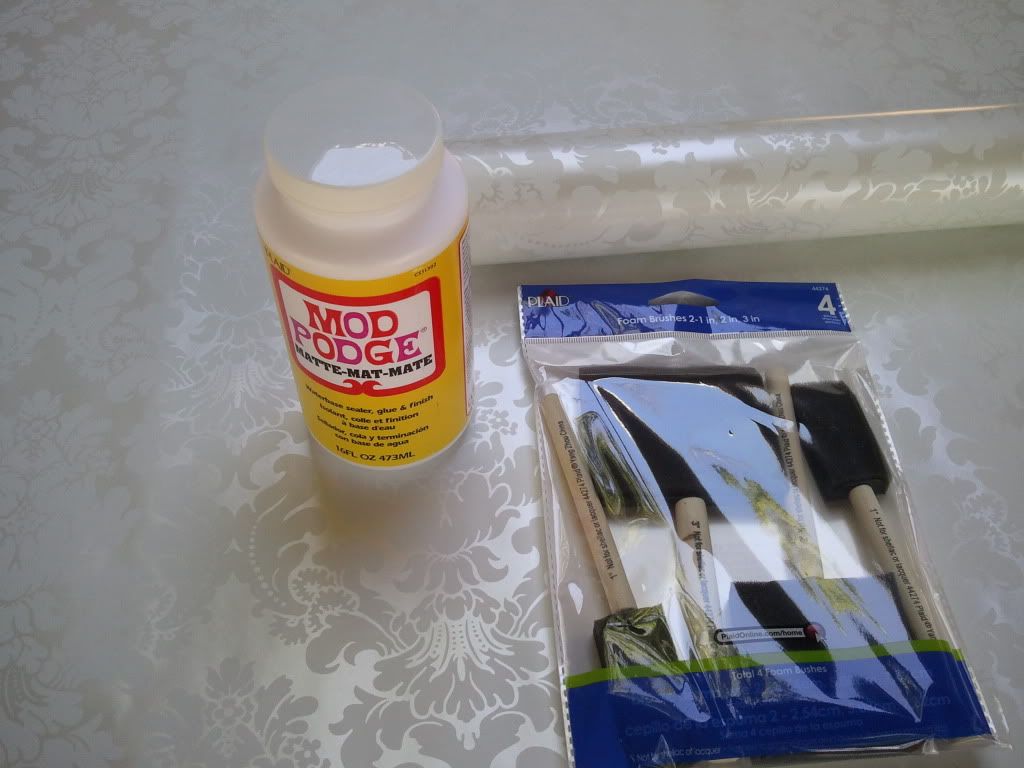
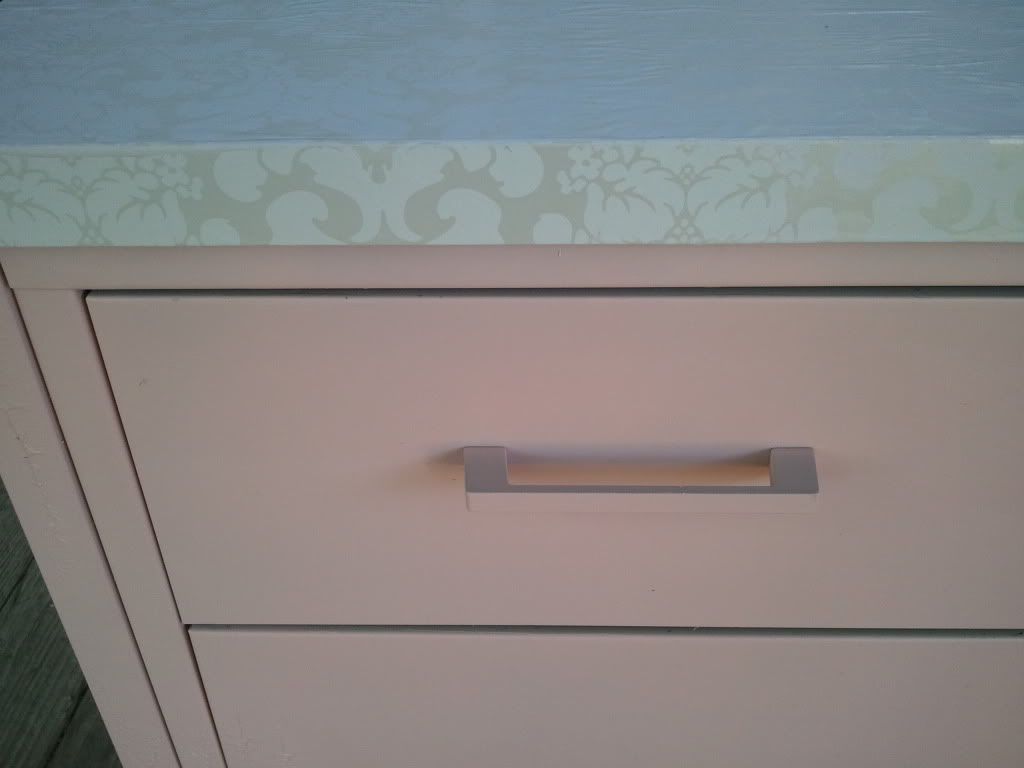
I went out and got some pink spray paint, some cute wrapping paper to match, some sponge brushes, and some Mod Podge. I got home and got to it!

You can't see the spray paint here because I didn't even think to document this over haul until I had already started painting.  It was Ballet Slipper Pink from Krylon


Sorry :D


First I set out painting that bad boy. I wish someone had told me to sand it down a bit before starting, or at least primer it. If you can't tell I'm pretty new at this stuff. Well here we are phase one in painting. I ended up doing about 3 or 4 coats to cover it all, and I ran out of pink paint. I ended up using some white that I had laying around for the inside part

Please pardon the bubbles and sidewalk chalk. Oh, and forgive my use of a cardboard box to keep the paint off of our deck.


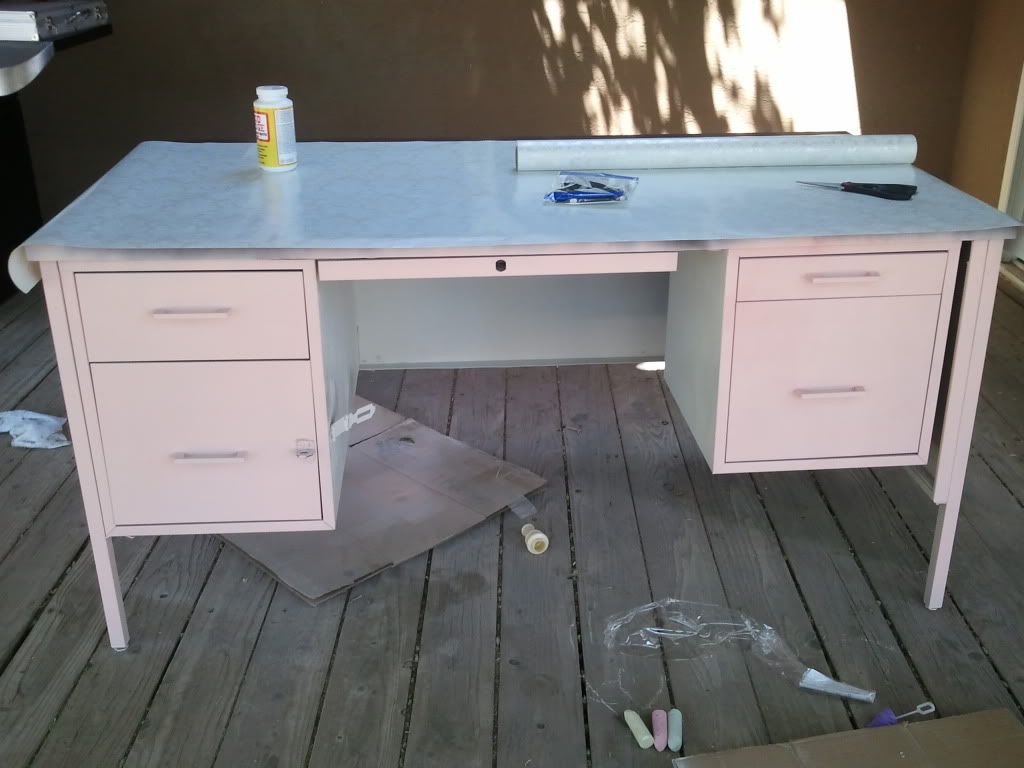
After all of that darn painting I grabbed my scissors and measured and cut the paper. I left a bit on each side so that I could wrap the paper under the edges of the top.

Geez I'm messy. The crap sort of started to accumulate outside as I went along LOL


Any who...... on we go


I just slathered some Mod Podge on the top in 3 inch sections, and unrolled the paper I measured out as I went along. I tried my best to smooth out any air bubbles, but I knew it would still end up wrinkly. I had read that would happen on a Pinterest pin somewhere, but I don't recall what the project was. After all of that I just tossed some Mod Podge on the top, let it dry, and then did it again.


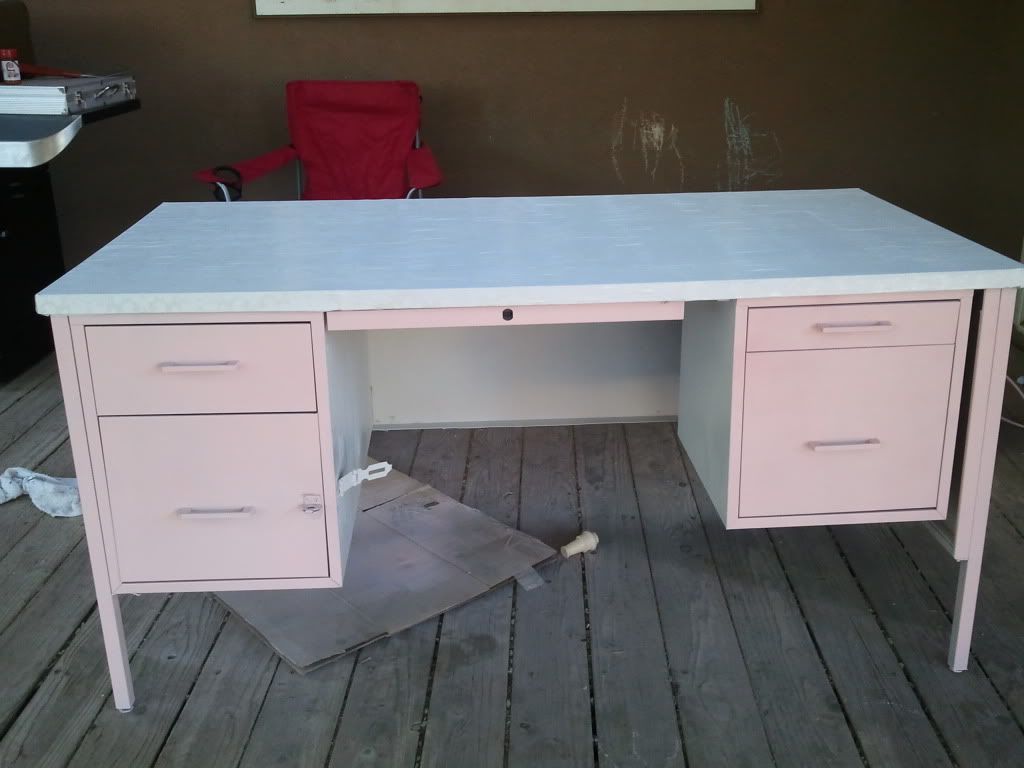
Here is the final product
 

Over all not bad for my first project. I mean it was a $25 desk, so had I screwed it up, it wouldn't have been the end of the world.